Ecommerce7 min read
How to Keep the Same AI Model Across an Entire Catalogue
The same prompt gives you a different face every time. Here is why identity drifts between generations, and the seed-plus-reference workflow that actually holds a model steady across twenty images.
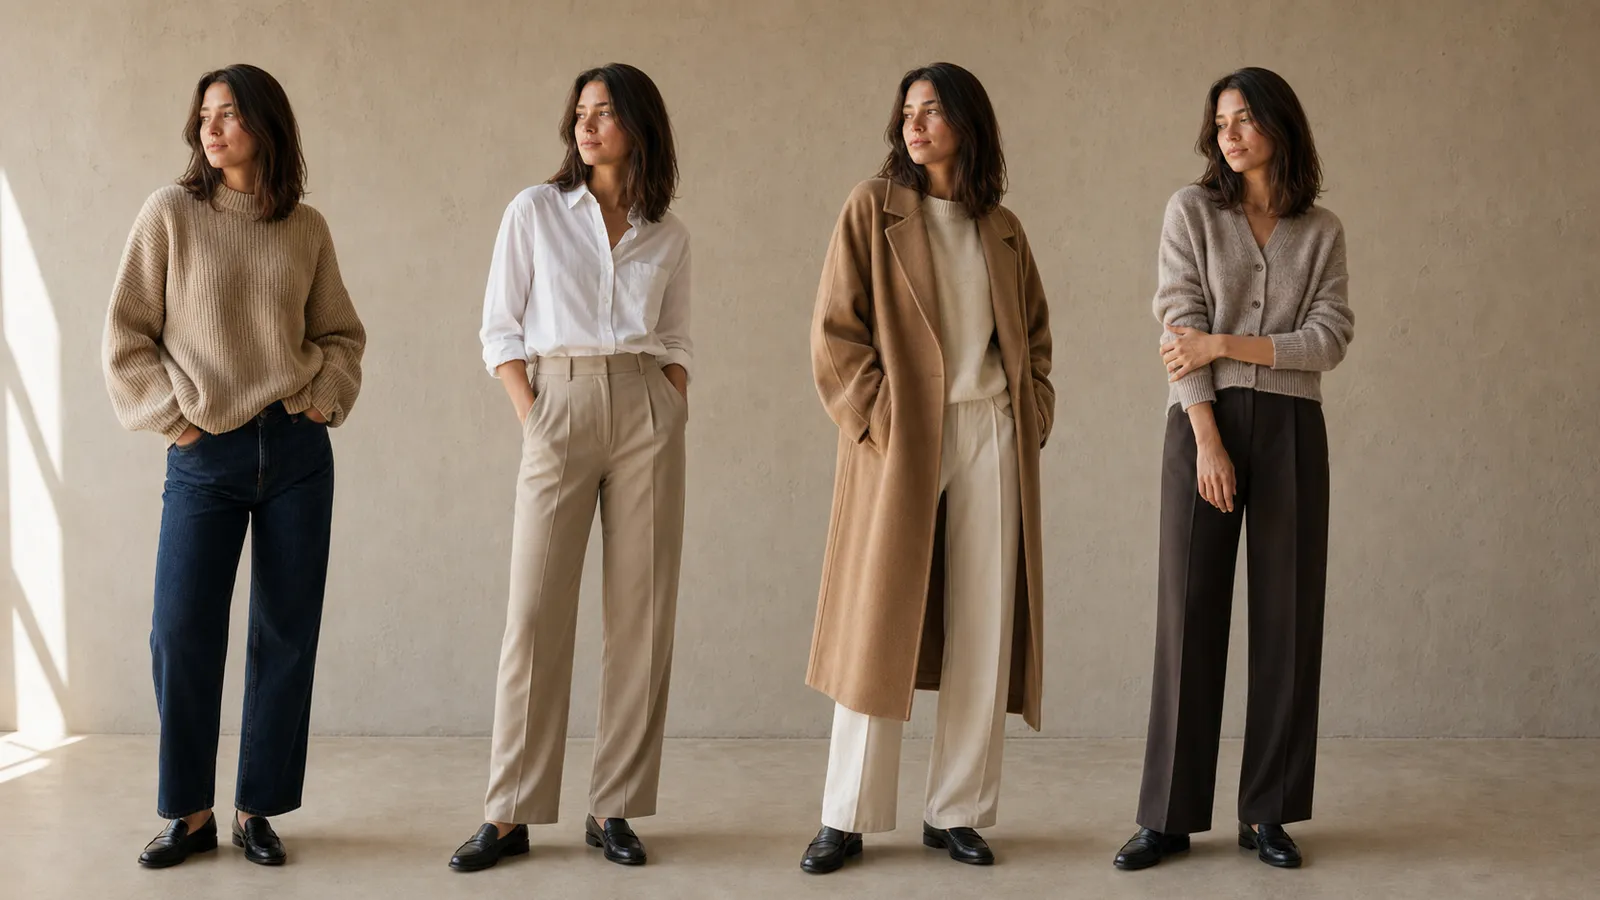
You get one good image. The face works, the lighting works, the garment reads correctly. So you run the same prompt again with a different sweater — and a different woman comes back. Same age, same hair colour, same general vibe. Different person.
Run it twenty times for twenty products and you have twenty models. As a catalogue, that is worse than useless. A shopper scrolling your collection page cannot tell whether they are looking at one brand or a stock photo bin.
This is the hardest problem in AI fashion imagery, and it is the one most guides skip. Here is what is actually happening and what to do about it.
Why the face changes when the prompt does not
A text prompt does not specify a person. It specifies a region of possible people.
When you write a woman in her late twenties with shoulder-length dark brown hair, you have narrowed the model to a large set of faces that all satisfy that description. Every generation samples a different point from that set. Nothing in your prompt distinguishes one of those faces from another, so the model has no reason to return the same one twice.
This is worth sitting with, because it explains why the obvious fix does not work. Adding more facial description — high cheekbones, small nose, green eyes, defined jawline — narrows the region, but it never collapses it to a point. You get a tighter cluster of similar-looking women. You do not get the same woman. And as covered in the four-layer framework, piling on facial adjectives pushes you toward the beauty-filter region of the distribution, which degrades the image in a different way.
The three mechanisms that actually work
Text alone cannot pin identity. Three things can, and they stack.
| Mechanism | What it holds | When it breaks |
|---|---|---|
| Reference image | Facial structure, hair, build | Large pose or angle changes |
| Same conversation | Everything, implicitly | New session, or too many turns |
| Locked prompt text | Light, camera, background | Nothing — but it does not hold the face |
The workflow below uses all three. Skip any one of them and drift creeps back in.
Step 1 — Generate one master image, and treat it as precious
Everything downstream depends on this frame, so spend real effort here. Generate ten or fifteen variations and pick the one that is genuinely best — not the first acceptable one.
A woman in her late twenties with shoulder-length dark brown hair, relaxed
neutral expression, looking directly at the camera, standing squarely with
both arms relaxed at her sides. She wears a plain fitted grey crew-neck
t-shirt and straight-leg dark denim. Soft even daylight from a large window
at camera left, gentle falloff across a plain plaster wall, neutral colour
temperature. Shot on 85mm at f/4, framed from mid-thigh up, camera at chest
height, face fully sharp and clearly visible.
Two deliberate choices here.
Direct gaze and neutral pose. This is the opposite of the advice for a finished commercial image, where looking off-camera reads as more editorial. The master image is not for publishing. It is a reference sheet. The model needs to see the face clearly and straight-on to reuse it.
f/4, not f/2. Shallow depth of field softens facial detail. You want the face sharp so there is more structure for the model to lock onto.
Step 2 — Attach the master image to every subsequent generation
This is the single highest-leverage move, and it is the step most people never take because they are typing prompts rather than uploading references.
In ChatGPT, attach the master image and write the new scene as an edit instruction rather than a fresh description:
Using the attached image as the reference for the model’s identity, generate a new photograph of the same woman — same face, same hair, same build. Keep the lighting and camera treatment identical to the reference: soft daylight from a large window at camera left, plain plaster wall, 85mm at f/4, camera at chest height.
Change only the garment: she now wears an oversized warm-beige ribbed knit sweater in chunky merino wool with dropped shoulders, hem falling just below the hip.
The structure matters more than the wording. Every follow-up prompt should have three parts, in this order:
- The identity anchor — “the same woman as the attached reference, same face, same hair, same build”
- The locked layers — lighting and camera text copied verbatim from the master prompt, never paraphrased
- The single change — the one thing that differs in this image
Copy the locked layers as literal text. Rewriting soft daylight from a large window at camera left as gentle natural side lighting means something slightly different to the model, and the background will shift.
Step 3 — Work in one conversation for as long as it holds
Within a single session, the model carries context from previous turns, which reinforces the reference. Generating your whole catalogue in one long conversation is more consistent than the same prompts across twenty fresh sessions.
There is a limit. After enough turns, earlier context gets compressed away and drift returns. When you notice the face sliding, do not fight it in that thread — start a new conversation and re-attach the master image. A clean session with a reference beats a long session without one.
Where drift comes back, and what to do
Even with all three mechanisms, some situations will break identity. These are the predictable ones.
Large pose changes. Going from a front-facing standing shot to a seated three-quarter turn asks the model to reconstruct facial geometry it cannot see in your reference. Fix: build a small reference set — front, three-quarter, and profile of the same face — and attach the angle closest to what you are generating.
Close-up crops. A face that reads as consistent at full-length framing often does not survive a head-and-shoulders crop, because the crop reveals detail the reference never pinned down. Fix: generate close-ups from a close-up master, not from the full-length one.
Accumulated re-editing. Editing an edit of an edit compounds small deviations until you are somewhere else entirely. Fix: always go back to the original master image. Never chain.
A realistic quality bar
Be clear-eyed about what this workflow delivers. It gives you a model who is recognisably the same person across a catalogue — consistent enough that a shopper browsing your collection reads one brand with one face.
It does not give you pixel-identical facial geometry. Look closely at two images and you will find small differences in the exact shape of an eyelid or the set of a mouth. Real photography has the same variance between frames, which is why this holds up commercially.
Where it does matter: if you are building brand assets around a single recurring model — a face on a homepage, in an email header, on packaging — the tolerance for drift drops sharply, and you should generate those key frames in one session, from one master, in one sitting.
The workflow in short
- Generate a master image: neutral pose, direct gaze, even light, f/4, face sharp. Spend real effort. Save at full resolution.
- For every subsequent image, attach the master and write: identity anchor → verbatim locked layers → single change.
- Stay in one conversation as long as the face holds. When it slips, start fresh and re-attach — do not push through.
- Build a small multi-angle reference set before you attempt anything other than front-on framing.
- Review the whole set in a grid before committing.
The underlying principle is the same one behind the four-layer framework: anything you leave unspecified, the model fills with an average. Identity cannot be specified in text at all — so it has to be supplied as an image. Once you stop trying to describe a face and start showing one, this problem becomes manageable.
For applying this to actual product pages, including background consistency and platform framing rules, see AI model photos for product listings.
Related guides
Fundamentals
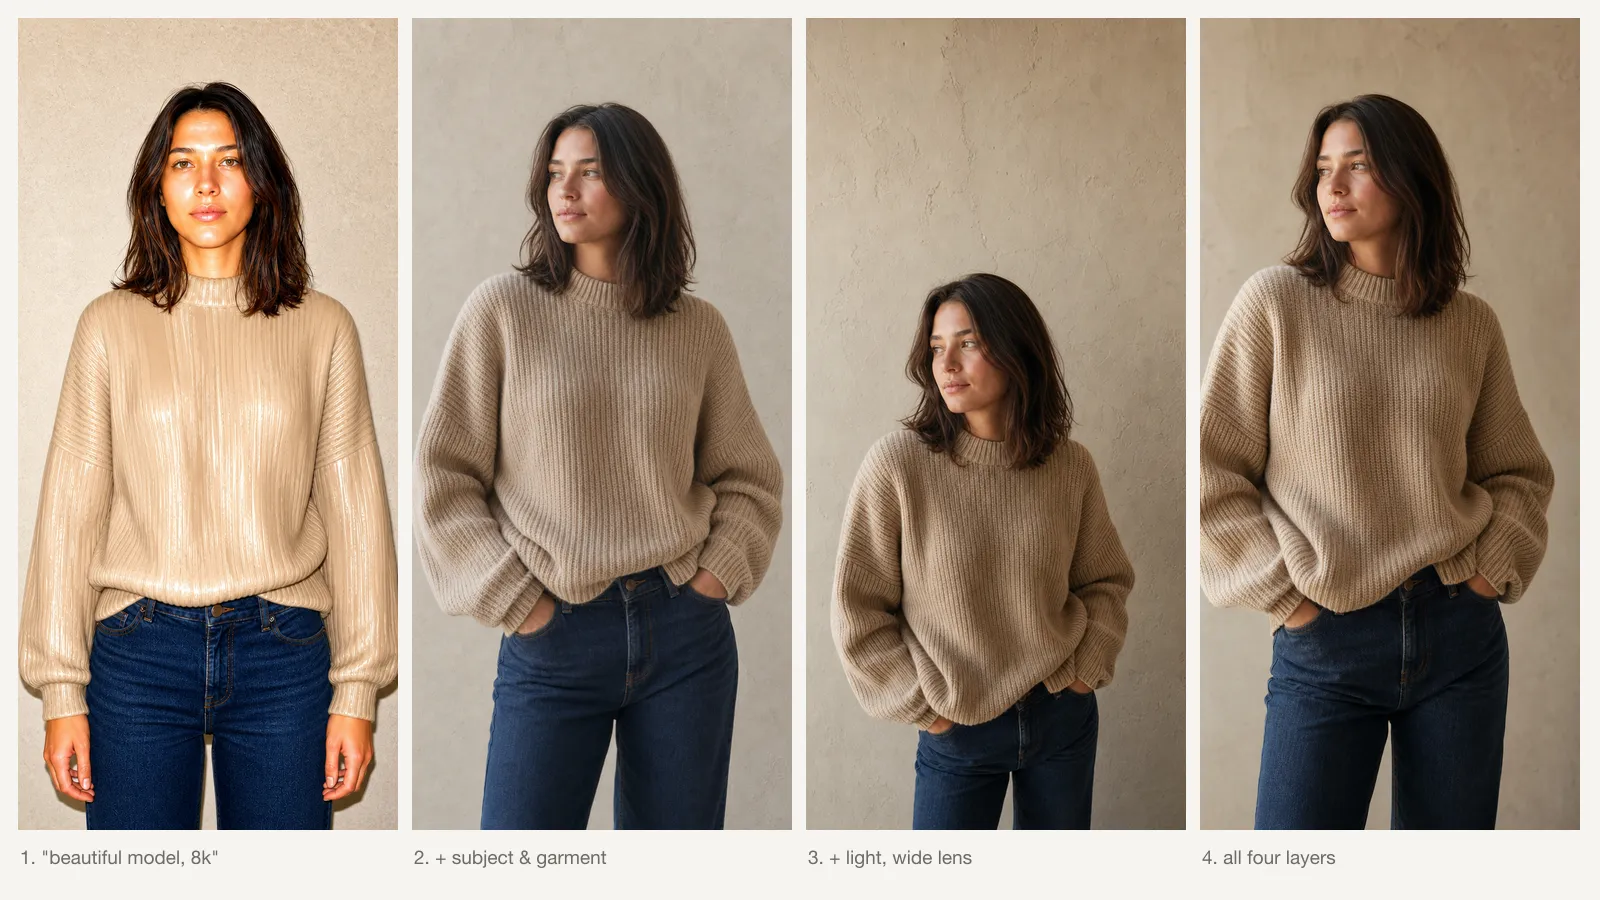
Why "Beautiful Model" Is the Worst Prompt You Can Write
The gap between a plastic-looking AI portrait and a usable one is not the model you use. It is the four layers most prompts leave out — subject, garment, light, and camera.
Ecommerce
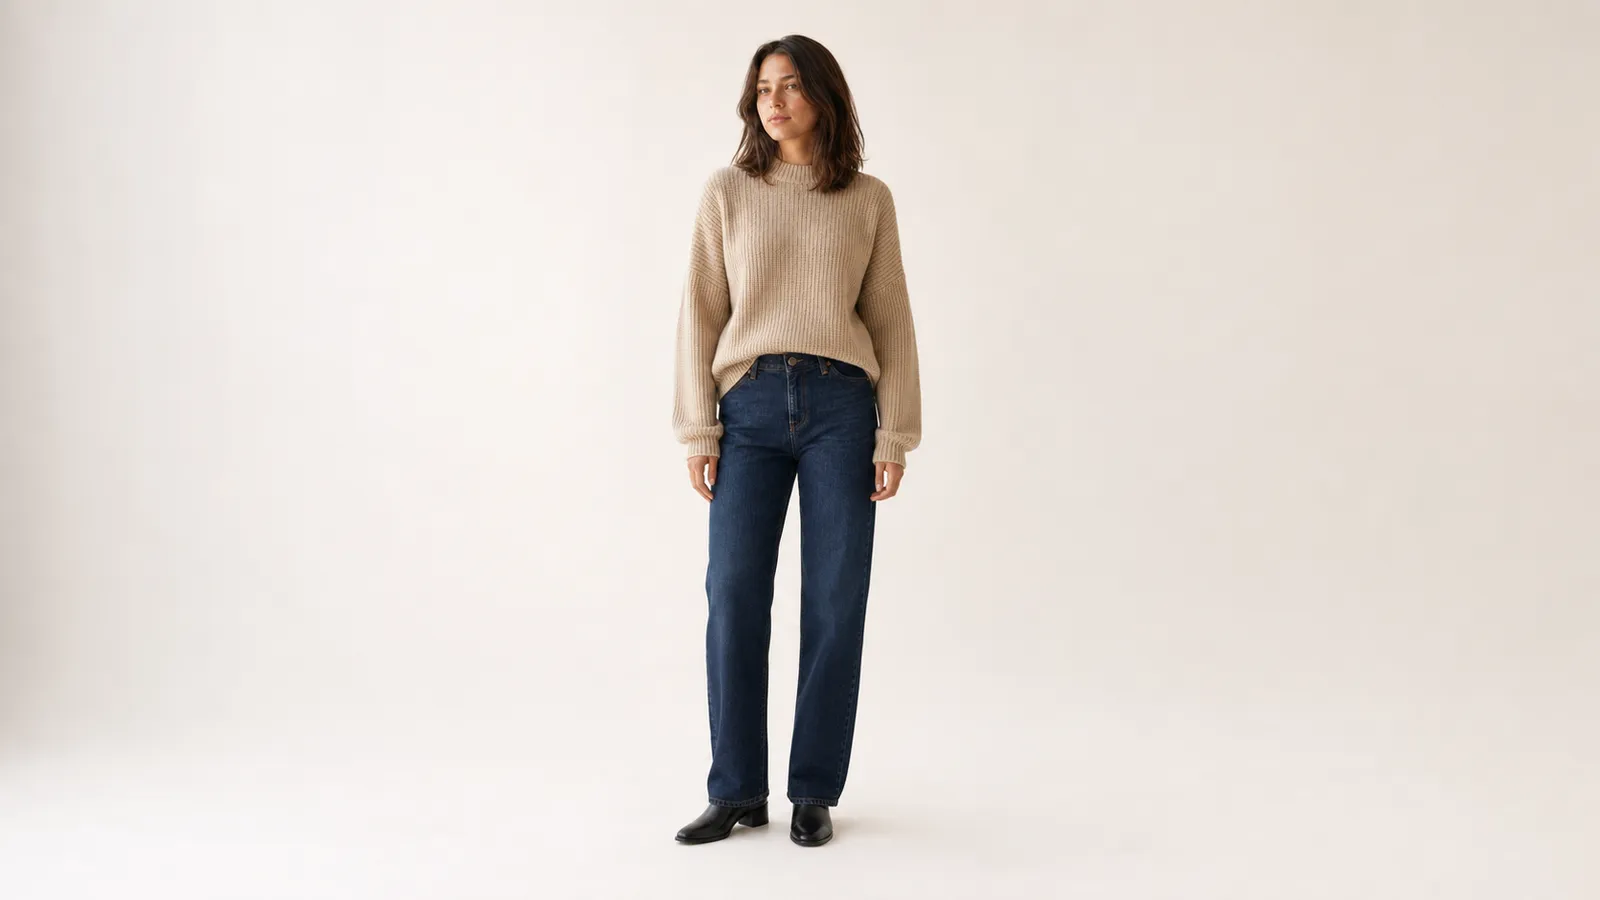
AI Model Photos That Actually Work on a Product Listing
A listing image has a job to do, and it is not looking good. What changes when you prompt for ecommerce — aperture, background, framing, and the returns problem nobody mentions.